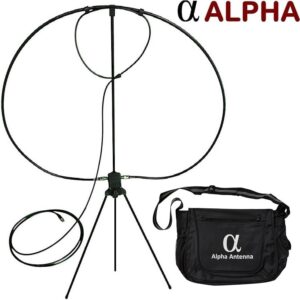
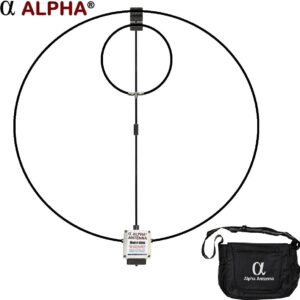
The antenna with the optional “booster loop” allowing operation on 80 & 60 meters installed, with its tripod and mast.
If you’ve come here looking for pictures of flowers and nature and me babbling about gardening and farming, you might want to skip this one because this entry is entirely amateur radio related. I want to talk about mag loop antennas. I’ve been fascinated with mag loop antennas since I first heard about them and have always wanted to build or buy one to experiment with. I finally broke down and bought one from Alpha Antenna.
I’m not going to explain what a mag-loop antenna is. If you’ve read this far you either already know or you’ve already used Google to look it up. I’ll just say that these compact, efficient antennas have become extremely popular, especially in the QRP (low power) amateur radio community, and for good reason. But mag-loops do have some issues. There are always tradeoffs in the world of radio. First, they have an extremely narrow bandwidth, making it necessary to retune the antenna if you change frequency. And second, they are generally only rated for low power transmissions. They’re usually considered to be QRP (low power) antennas. Mag loop antennas can be built that can handle impressive amounts of wattage, but there are problems that are difficult (and expensive) to deal with.
I should explain why I picked the Alpha rather than one of the other antennas on the market. The Alpha can handle more power than many other mag loops on the market, up to 100 watts on SSB, 50 watts on CW, and 25 on digital, depending on the frequency being used. This is more than what a lot of the other ones can deal with, at least in this price range. It works from 40 meters to 10 meters, and with the Booster Cable, can even work down on 80 meters. A lot of mag loops only work from 20 to 10 meters, and most have no options to extend their range down to the 80-meter band. The Alpha I bought also included the tripod, mast, and other parts necessary to fully assemble and use the antenna. Basically, it is a complete antenna system. All you have to do is put it together, hook up your coax and begin using it. It was everything I really wanted in one convenient package.
You can order it directly from the company, but I bought mine off Amazon. Retail price is $500 including the main antenna, the booster cable, tripod and mast and a carrying bag. (Note: I have no connection to either Amazon nor Alpha, do not get paid by them, do not get special deals or anything else. I paid full retail price for the antenna and ordered it through normal retail channels.)

The antenna comes in its own gym style carrying bag with the Alpha logo on it. Everything, including the tripod and short mast (basically a selfie stick, and Alpha refers to it as such), fits neatly in the bag with room left over.
Once you unpack everything from the bag, this is what you get:
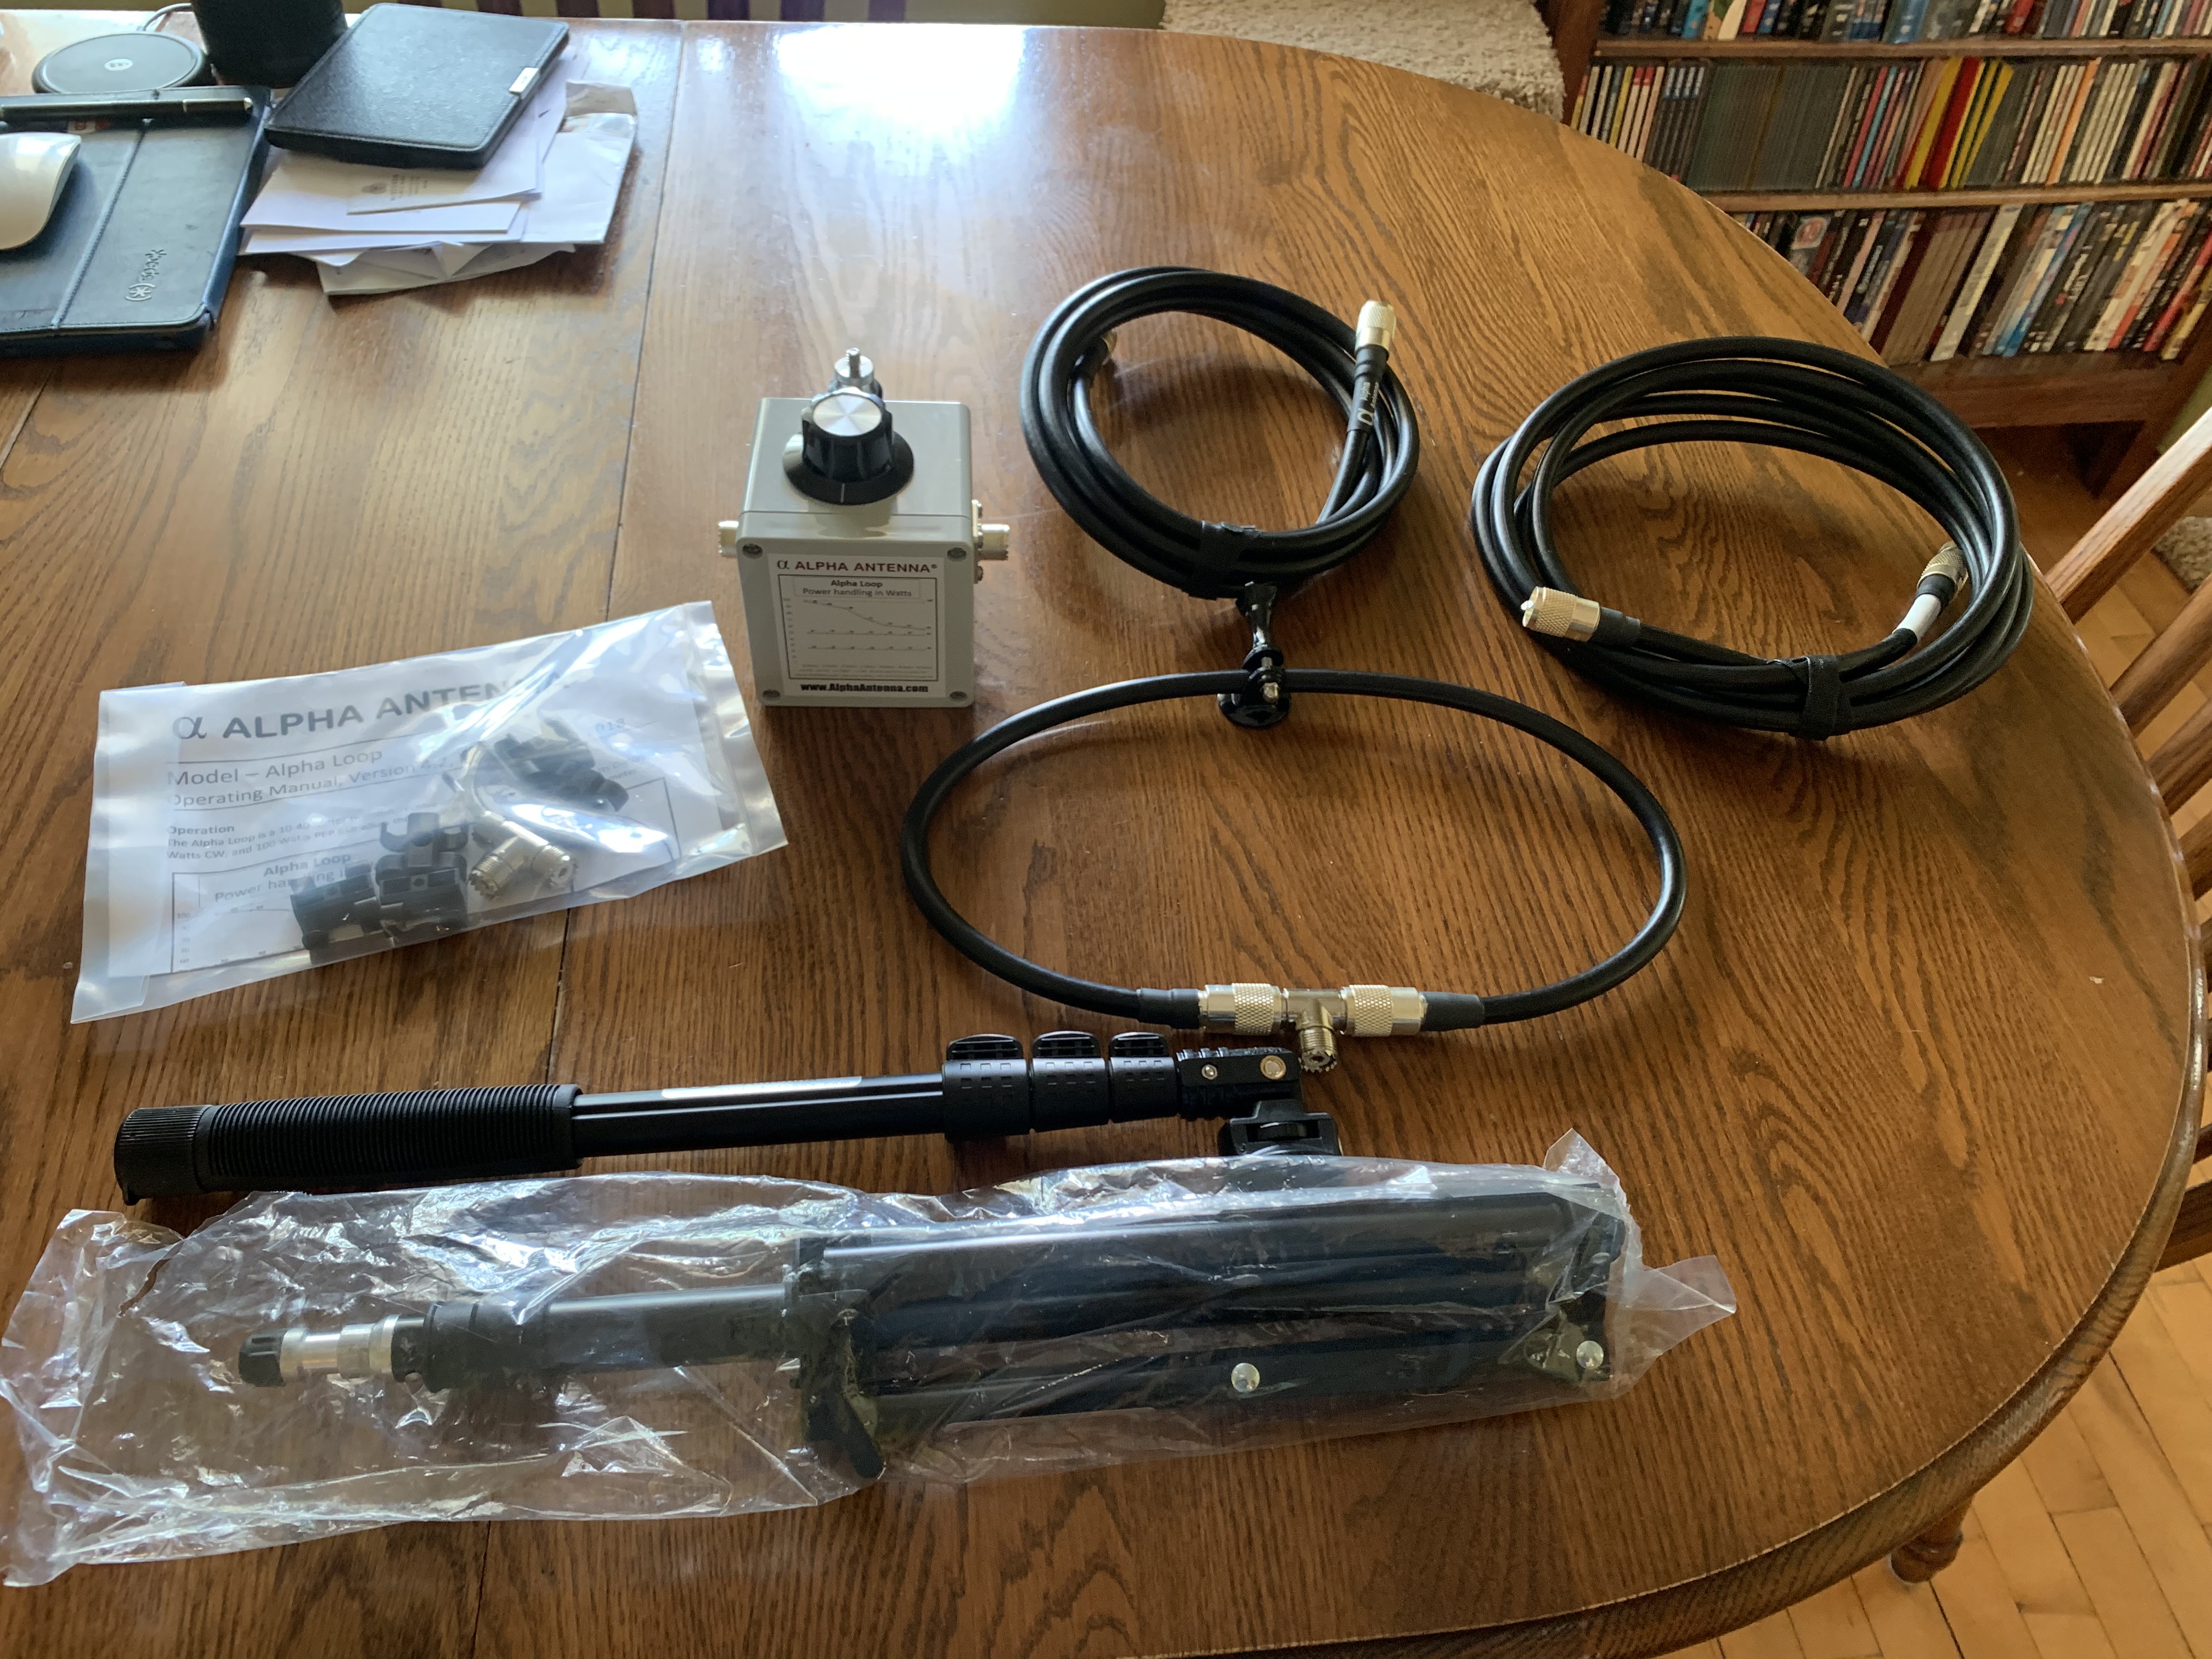
Note the extra “T” coax connector in the plastic bag. I had no idea why that was included, but a bit of research turned up why they tucked that in with the rest of the antenna. That’s being included because Alpha had reports of bad T connectors in the recent past. All previous owners of the antenna were sent new T connectors and they’re including spare T’s just in case.
Assembly is a piece of cake. Being a typical amateur radio operator I, of course, never looked at the instructions until after I’d put it together. (I really should stop doing that, shouldn’t I?) Even so, it took me all of about five minutes to get it fully assembled and ready to go. And, amazingly enough, I even got it right the first time. Alpha has a video up on youtube showing how to assemble it, including how to add the Booster Cable for 80-meter operations. Just click the link there to see it. It’s all very straight forward.

The photo above shows it fully assembled, without the booster cable, in my dining room. The loops are all made of LMR 400 coax, which is extremely stiff and has no trouble holding any shape you want to bend it into. Use some caution when you’re coiling and uncoiling the coax. It can be awkward to work with because of how stiff it is. Note the two plastic clips holding the large loop in the proper position above the small loop. 6 of those clips are included. The other four are required for use with the Booster Cable installed. This is the antenna with the “Booster Cable” installed.
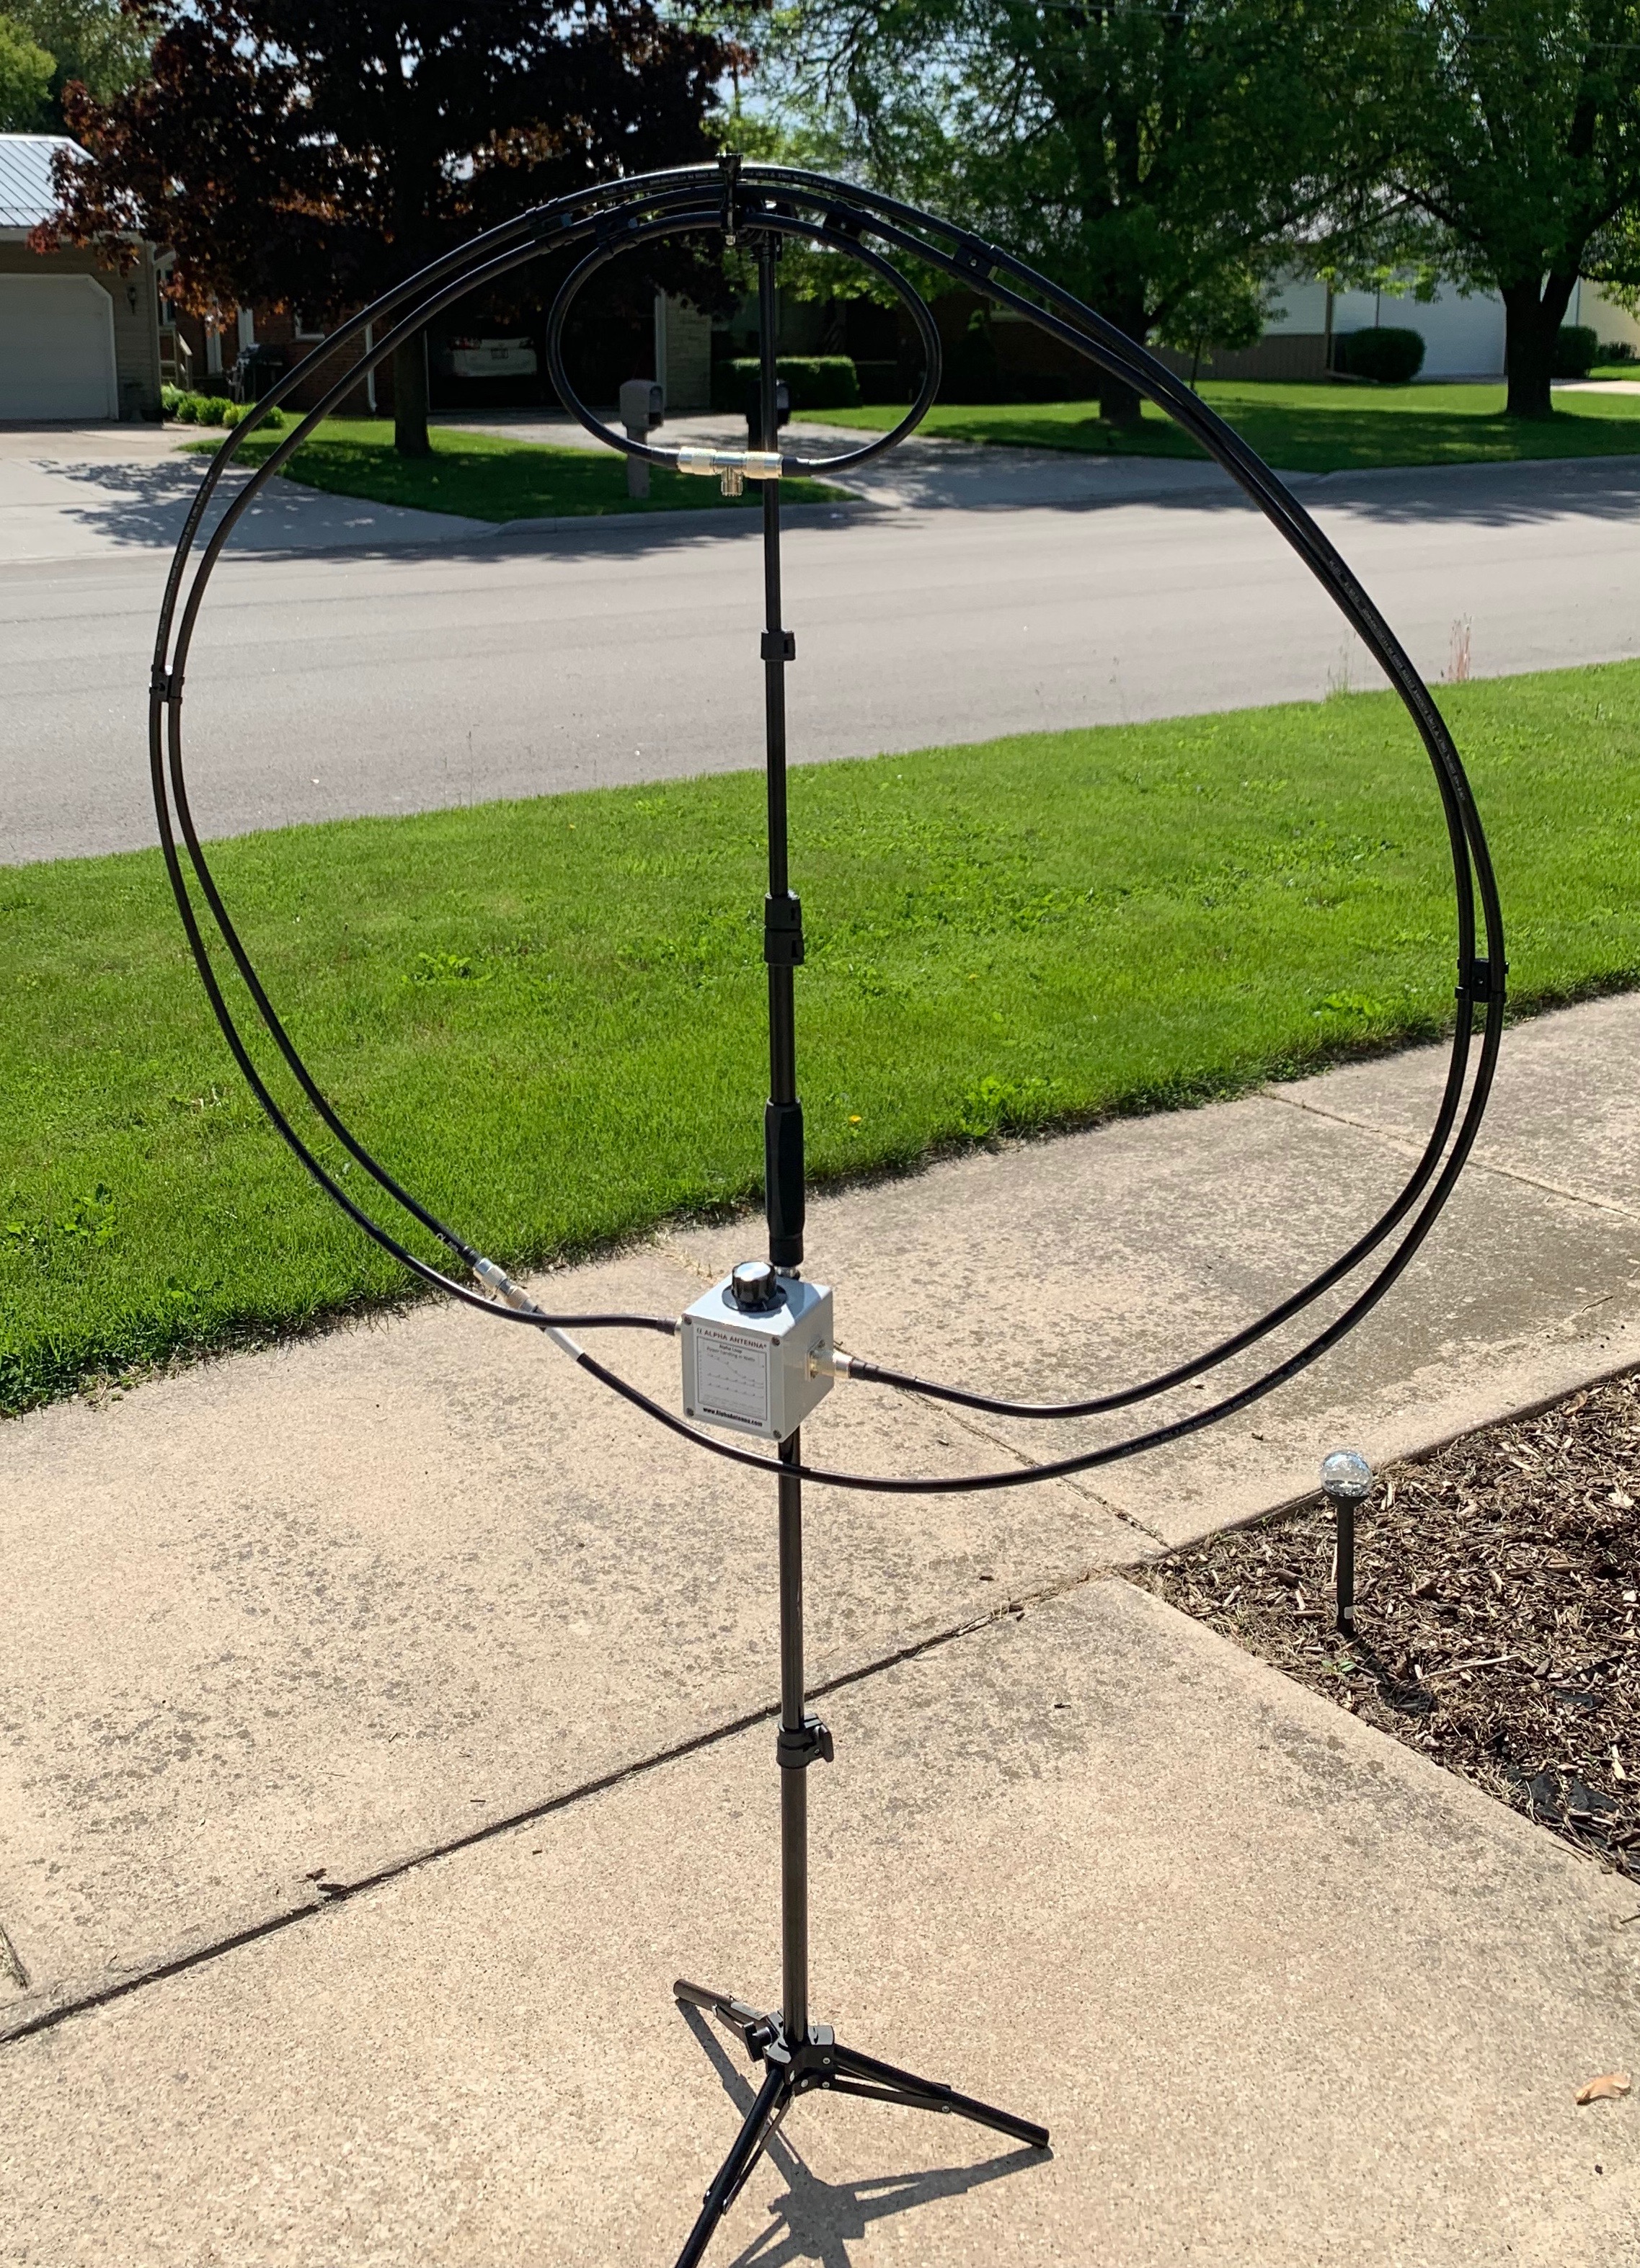
The booster cable is connected in series with the regular large loop, so you now have a double loop instead of just a single loop. All the proper connectors are already installed on the ends of the cable, so you don’t need adaptors.
Without the booster cable installed it’s impossible to use the antenna on frequencies below 40 meters. And I should point out that with the booster installed it’s impossible to use the antenna on frequencies higher than 40 meters. So, you can either work 80/75 to 60 meters, or you can work 40 to 10 meters, but not both.
Overall quality is quite good. The coax is genuine LMR 400 from Times Microwave. The small tripod is more than sturdy enough to handle the antenna. The mast/selfie stick is sturdy enough to handle supporting the loops. Once it’s set up the mast and tripod are very easy to adjust if necessary. The connectors on the coax and on the tuning unit look to be of good quality and appear to be silver plated. I did not open up the box to look at the variable capacitor, but others have and if you want to see what’s in there, you can find photos and videos on YouTube and other sources. It looks well made from quality materials and should provide years of reliable use.
I should point out that if you’re using it outside and there is more than a gentle breeze, you’re going to have to stabilize the tripod somehow. A stiff breeze will blow it over.
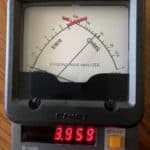
The first thing I did after putting it together was hook it to my antenna analyzer to see how good of a match, I could get on the frequencies I normally use.
Now most of you reading this probably know this already, but just in case I’ll mention it. You never use your transceiver’s internal antenna tuner or an external tuner, with a mag-loop antenna. You adjust the antenna for a proper match by turning the knob connected to the variable capacitor inside that little gray box. And getting a match can be very touchy sometimes depending on the antenna, the type of capacitor being used and other factors. Now I don’t have any personal experience with mag-loop antennas before getting the Alpha, but from what I’ve heard from others, tuning the Alpha is no worse than tuning any of the others, and actually a lot easier than some reports from other models.

I don’t use 80/75 meters much, and have no plans to use it for QRP, but since I already had the booster cable installed for the photo, I checked that first. I didn’t have high hopes for a decent match down there, but much to my surprise the Alpha with the booster installed indicated an SWR of a bit over 1.1:1.
I took the booster cable off and set it up the way I would normally use it and looked at the rest of the HF frequency range.

I got excellent, or at least decent, SWR all across the amateur radio bands with one exception, 12 meters. No matter what I did I couldn’t get an SWR of less than 2.5:1 on 12 meters. Considering that I’m getting matches of 1.5:1 or better, usually much better, on the other bands, I’m assuming that there’s something wrong with what I’m doing, and I’ll look into it further when I get some time. It’s entirely possible that I simply missed the “sweet spot” when trying to tune the antenna because I was in a hurry to get it hooked up and on the air.
Now, the question is, of course, does the thing actually work as an antenna? The answer to that question is an emphatic yes!
I don’t have my Yaesu 818 yet, so I tested it with my Kenwood TS-990, with the antenna standing on its tripod right behind me in the office where I could easily reach the knob to adjust it. Once I got a few glitches straightened out (My fault, not the antenna’s. Turned out the coax I was using had a bad connector. Once I re-soldered that all was well.), I gave it a try on 20 meters using FT8 with the 990’s power turned down to 8 watts and the SWR adjusted down to 1.4:1. And this is what popped up on PSK Reporter a short time later:

Now FT8 is a pretty efficient mode, but still… Damn. I was getting reception reports from all over the country while putting about 8 watts into an antenna sitting on the floor behind me in the office.
I moved up to 10 meters. Now 10 meters has been in the doldrums because we’re at the bottom of the solar cycle, but you never know. After adjusting things tried with the 990’s output set to 6 watts. I honestly didn’t expect to see anything pop up on PSK Reporter, but low and behold, when it cycled through, there I was, with reception reports popping up all over the place.:

Reaching Texas, Kansas and a large part of the east coast with 6 watts output using an antenna sitting in my office? Yeah, that’s not bad at all. Okay, I am officially impressed.
So far, I’m very pleased with this antenna. More than pleased. In fact, the few times I’ve had a chance to operate this past week or two, I’ve been using the loop exclusively when I use FT8. Getting it tuned is a bit fiddly, but as I’ve gained experience with it, I’ve found I can tune it reasonably quickly and easily. (More about that in a minute.) I can’t wait to have a chance to really work with it and see what it can do out in the field. Once the Yaesu 818 gets here I’m hoping to throw together a complete portable digital system compact enough to throw into the back of the car along with my fishing gear and making some contacts out in the wild, so to speak.
Let’s talk about tuning mag-loop antennas for a moment. I mentioned before that you do not use an antenna tuner with these antennas because they have their own built-in tuners, that variable capacitor. That’s how you adjust ’em to get a match. And these antennas are very, very touchy when it comes to tuning. They are very narrow bandwidth to begin with and moving the dial a fraction of a degree can make a huge difference in the SWR.
I used an antenna analyzer at first when testing. It’s pretty easy to dial them in that way, but connecting and disconnecting an analyzer is a pain in the neck, and you don’t want to have to lug one along if you’re going portable. There is a technique to make it easier to set them up. The trick is to hook it up to your transceiver, set your transceiver to the frequency you want to use, and then listen to the receiver as you turn the dial on the antenna. (Hint: Turn that knob slowly. It is very, very easy to slip right past the sweet spot if you turn the knob too quickly.) As you get close to a match there will be a sudden increase in noise coming from your receiver. When you reach that point watch your S meter or listen to the noise level to bring that noise to a peak. Once you do that, you’ll be pretty close, and you can use a test transmission to dial it in for the best SWR before you are actually trying to make contacts.
Another issue with tuning is how the antenna reacts to being close to your body. The mere presence of your hand near the antenna when turning the knob is enough to alter its characteristics in some cases. Since you have to bring your hand close to the antenna to adjust the tuner, this can mean that as soon as you take your hand away from the antenna, your SWR will change, sometimes significantly so. If that kind of thing happens, you can often compensate for it. I quickly learned to stop tuning a bit before or a bit after the ideal SWR in order to get a good match once I took my hand away when that happened. Interestingly, it doesn’t happen all the time. This is due to a phenomenon known as body capacitance or hand capacitance. The human body can act like a capacitor. The actual amount of capacitance varies depending on environmental conditions. So, depending on conditions, just bringing your hand close to the antenna can cause its characteristics to change. Don’t worry about it. It doesn’t happen all the time, and if it does, you’ll learn to adapt.
So overall the Alpha has been a lot of fun to use. Only time will tell how it holds up, but it looks to be well made and certainly it works as advertised. I’m really very, very pleased with it so far.
Later — Look what the nice UPS driver just delivered today!!!
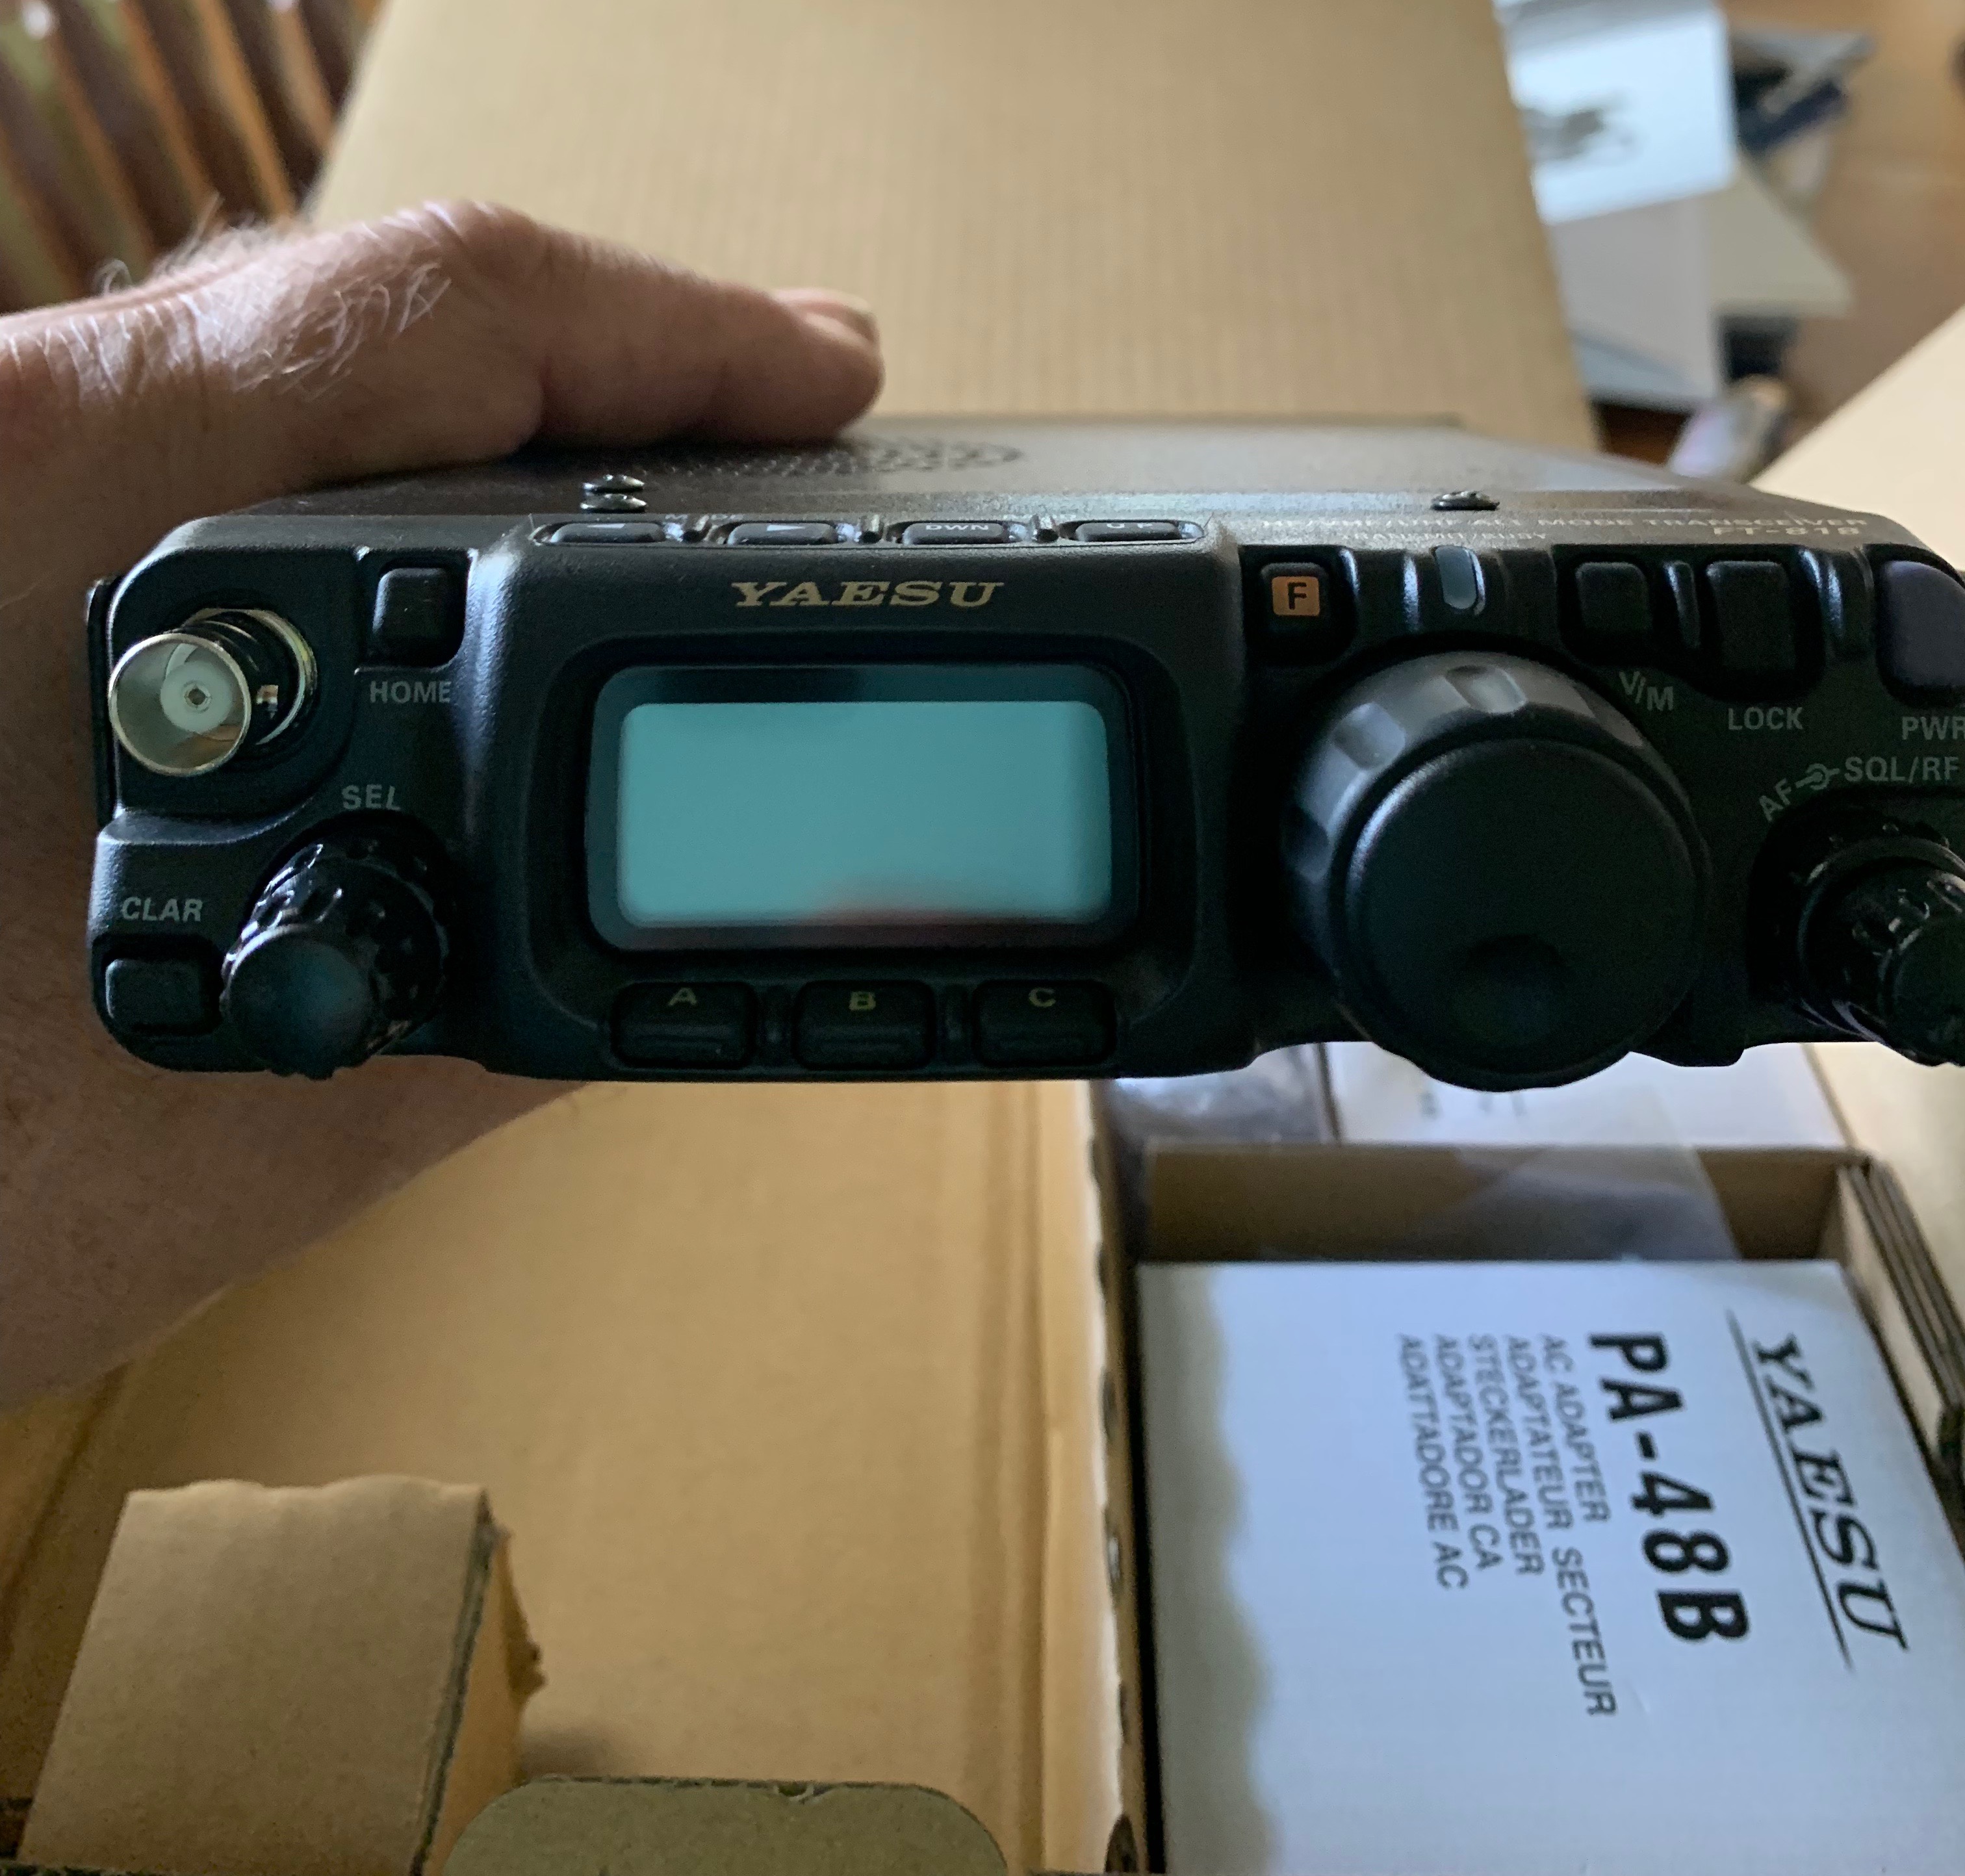
The 818 is here! I still have some bits and bobs to put together before I’m ready to take it out on the road. I want to do digital modes, and that means I need a laptop, and the elderly Toshiba I was planning on using looks like it is instead headed for the recycling center, so I’m going to have to scrounge up a laptop. I’ll need make or buy connector cables to hook everything up to the laptop and SignaLink. Then I’ll need a power supply of some sort. The 818 does have its own battery, but the SignaLink requires a power source and I’d like to have a central power source to run everything. Nothing serious but it’s going to take some time, which is in short supply right now because we’re up to our necks with landscaping and gardening projects and house updating projects and other stuff at the moment. Until I get all the bits together, I need for digital operations I may try it with the Alpha on SSB and see what happens
CLICK HERE for More Frequently Asked Questions (FAQs)
Related Products
-
VHF UHF HF Antenna (EmComm MagLoop)$399.00Rated 4.99 out of 5 based on 99 customer ratings
-
10-40M 100W (HF MagLoop) optional VHF UHF 6M or 60/80M$550.00Rated 5.00 out of 5 based on 92 customer ratings

