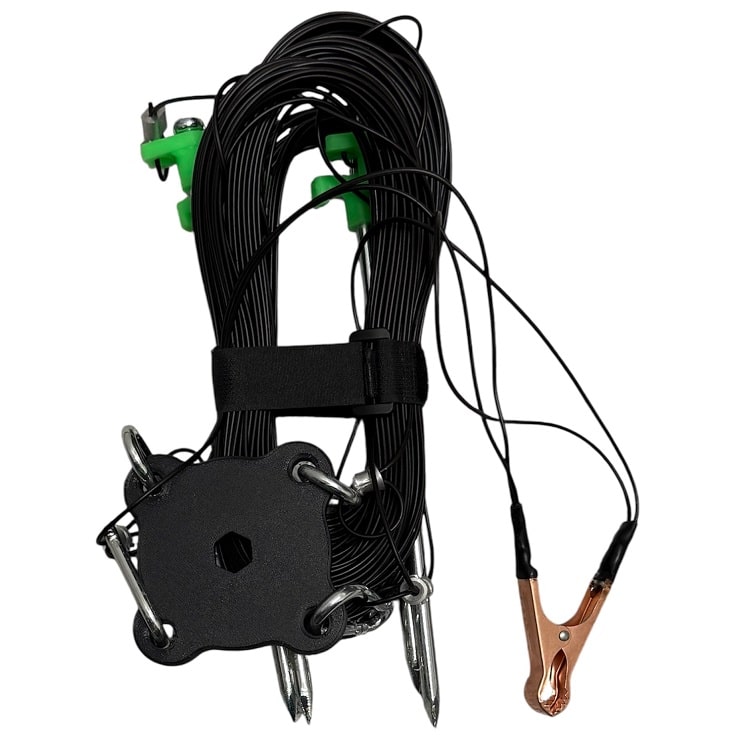
This kit for our Portable Systems has many uses, which include the ability to enhance:
- Enable Low Band Performance
- Activate omni-directional patterns
- Enhance either NVIS and DX
Quick Instructions:
- FOR ENHANCED NVIS: Place on the bottom bolt under the Auto Match.
- FOR ENHANCED DX: Place on the top bolt of the Auto Match below the Vertical Element.
Detailed Installation for Enhanced NVIS (NOTE – Placement under the Auto Match lowers the take-off angle for Enhanced DX.)
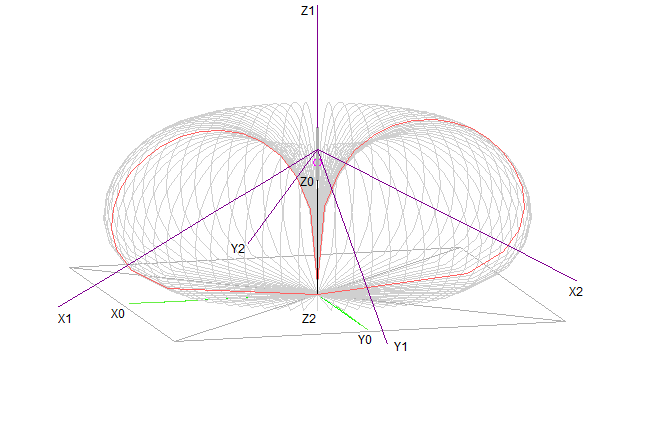
Step 1 – Place the four 35 foot wire NVIS Element’s connectors on the top of the Auto Match at Z0, per the image below
Step 2 – Pull the wires out at 90 degrees from one another, and push the stakes of the NVIS elements at positions X1, X2, Y1, & Y2
Step 3 – Install the vertical element onto the top of the Auto Match
Step 4 – Place the one 8 foot wire Grounded Counterpoise wire on the ground bolt of the Auto Match at Z0
Step 5 – Push the stake of the Grounded Counterpoise wire in the ground at position Z2
Step 6 – Attach your coax from your equipment to the SO-239 on the Auto Match
Included
- 4 – 35 foot HF Elements
- 1 – Clip
- 1 – Adapter Hub
- 4 – Stakes
- 4 – Carabiners
This adapter installs over the Top Hex Nut on the Auto Match securely holds the 4 (four) 35′ Element Kit in place.
SIGNAL PATTERN USING NVIS ELEMENTS
Reference: Z0 = AutoMatch, Z1 = Vertical, & Z2 = Ground
X1/X2 & Y1/Y2 = NVIS Elements
Low Band Performance Enhanced for MIL 2.0 & FMJ Systems
We listen!
Specifications, prices, and descriptions are subject to change without notice.
Reviews
| 5 star | 100% | |
| 4 star | 0% | |
| 3 star | 0% | |
| 2 star | 0% | |
| 1 star | 0% |


As the owner of several Alpha Antenna antennas it is no surprise that the 35′ Radials are of superior quality. Steve never fails us! Highly recommed…
Exactly what the description said and we’ll built. Never a bad experience buying from Alpha Antenna!